🧠 How to Use SVG Files for Laser Cutting (Step-by-Step Guide)
Learn how to use SVG files for laser cutting in Glowforge, xTool, and LightBurn. A beginner-friendly guide from Lasercutora to help you create perfect cuts every time.
✨ Introduction
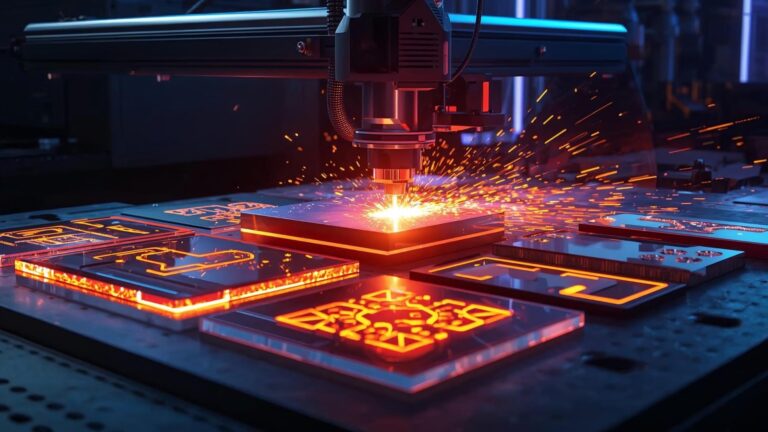
If you’ve just started your laser-cutting journey, you’ve probably come across the term SVG file. These files are the backbone of every precise cut — they tell your laser machine exactly where to move, engrave, or cut.
In this guide, we’ll walk you through how to use SVG files for laser cutting step by step, so you can start creating beautiful designs with ease.
🔍 What Is an SVG File?
SVG stands for Scalable Vector Graphics.
Unlike images such as PNG or JPG, SVG files are made of mathematical paths, not pixels.
That means:
- No loss of quality when resizing
- Clean and accurate cutting lines
- Perfect compatibility with most laser software (Glowforge, LightBurn, xTool Creative Space, etc.)
⚙️ Step 1: Download Your SVG File
When you purchase a digital design from Lasercutora, you receive a ZIP folder containing one or more file types (SVG, DXF, AI, CDR).
- Download the file from your account or email link.
- Extract (unzip) the folder to access the SVG file.
- Open your preferred laser software.
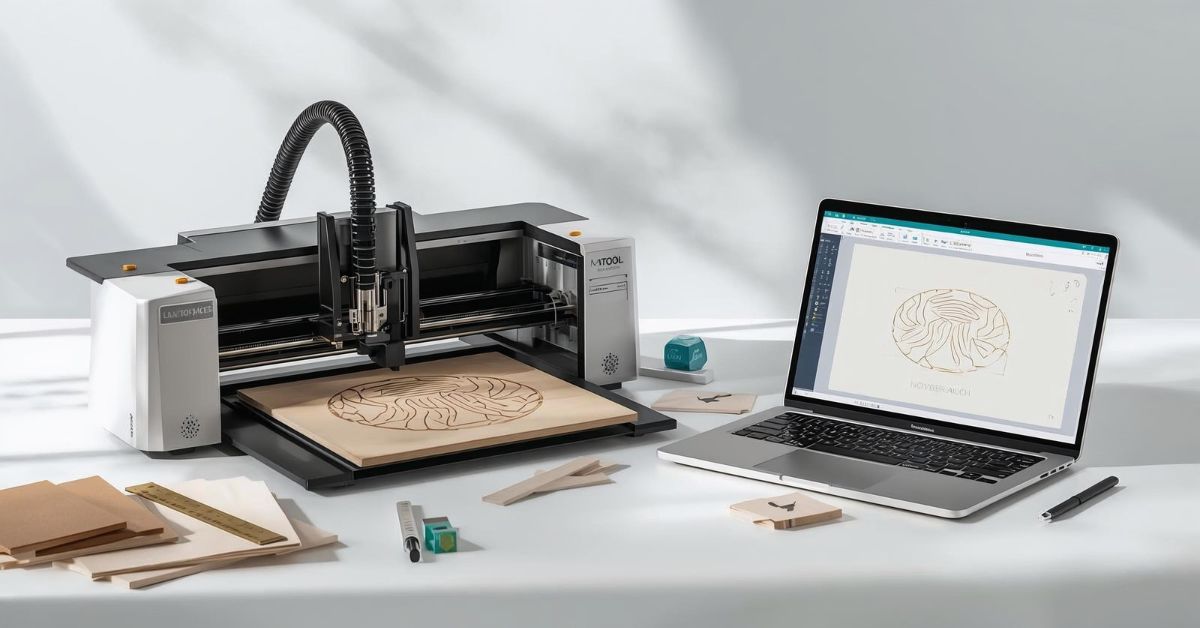
💻 Step 2: Import the SVG into Your Laser Software
Each machine uses slightly different software:
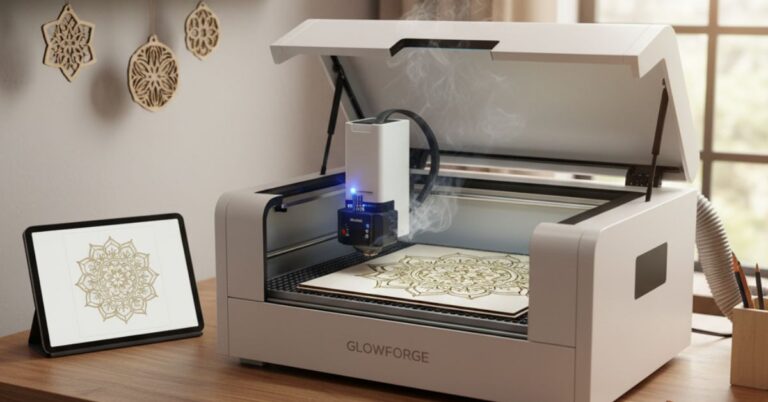
- Glowforge: Simply drag the SVG file into the Glowforge app.
- LightBurn: Go to File → Import and select your SVG file.
- xTool Creative Space: Click Import → SVG to upload your design.
Once imported, you’ll see all shapes and lines exactly as the designer created them.
✏️ Step 3: Adjust the Settings
Now it’s time to set the cutting and engraving parameters:
- Material: Choose the right preset (wood, acrylic, leather, etc.)
- Speed & Power: Adjust based on your material thickness.
- Line Colors: Some designs use color layers to separate cut, score, and engrave areas.
Tip 💡: Always run a test cut on a small section before final production.
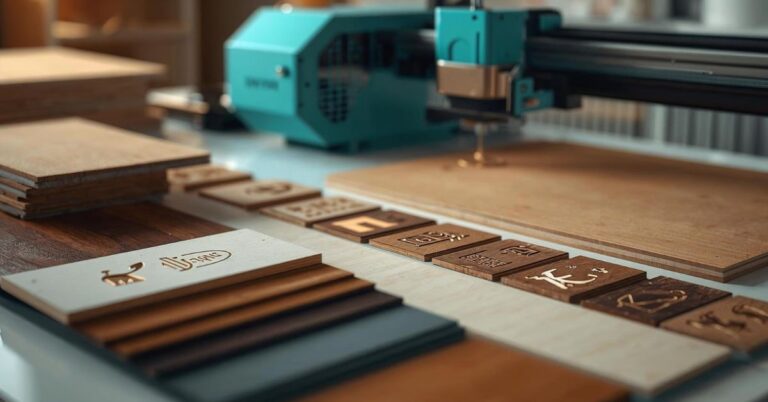
🪵 Step 4: Position Your Material and Start Cutting
- Place your material securely in the laser bed.
- Use the software’s preview feature to align your design.
- Press Start — and watch your design come to life!
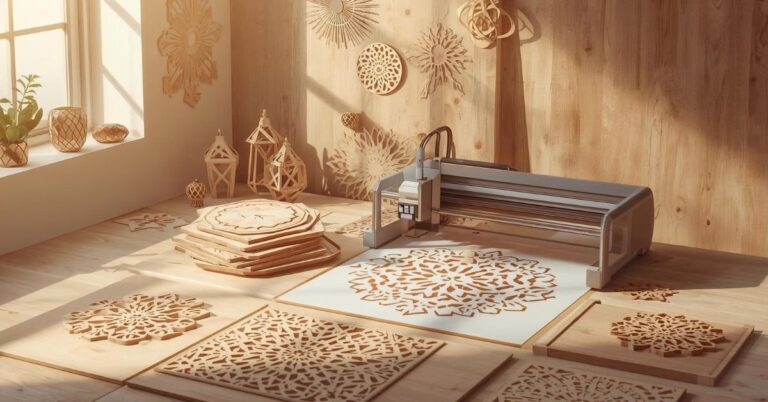
Within minutes, you’ll have a perfectly cut piece ready for assembly, painting, or gifting.
🛍️ Step 5: Explore Ready-to-Cut Designs
If you want to skip the design process and get cutting immediately, explore our ready-made collections at Lasercutora.com:
- 🎄 Ornaments & Holiday Décor
- 💍 Jewelry & Accessories
- 🧩 3D Projects
- 🏡 Signs & Home Décor
All files are tested, machine-ready, and come with instant download access.
💬 Final Thoughts
Using SVG files for laser cutting is simple once you understand how they work.
With high-quality files and proper settings, your projects will look professional and precise — every time.
Start your next project today at 👉 Lasercutora.com